


How to Clean a Microwave
Have you ever wondered how to clean a microwave?
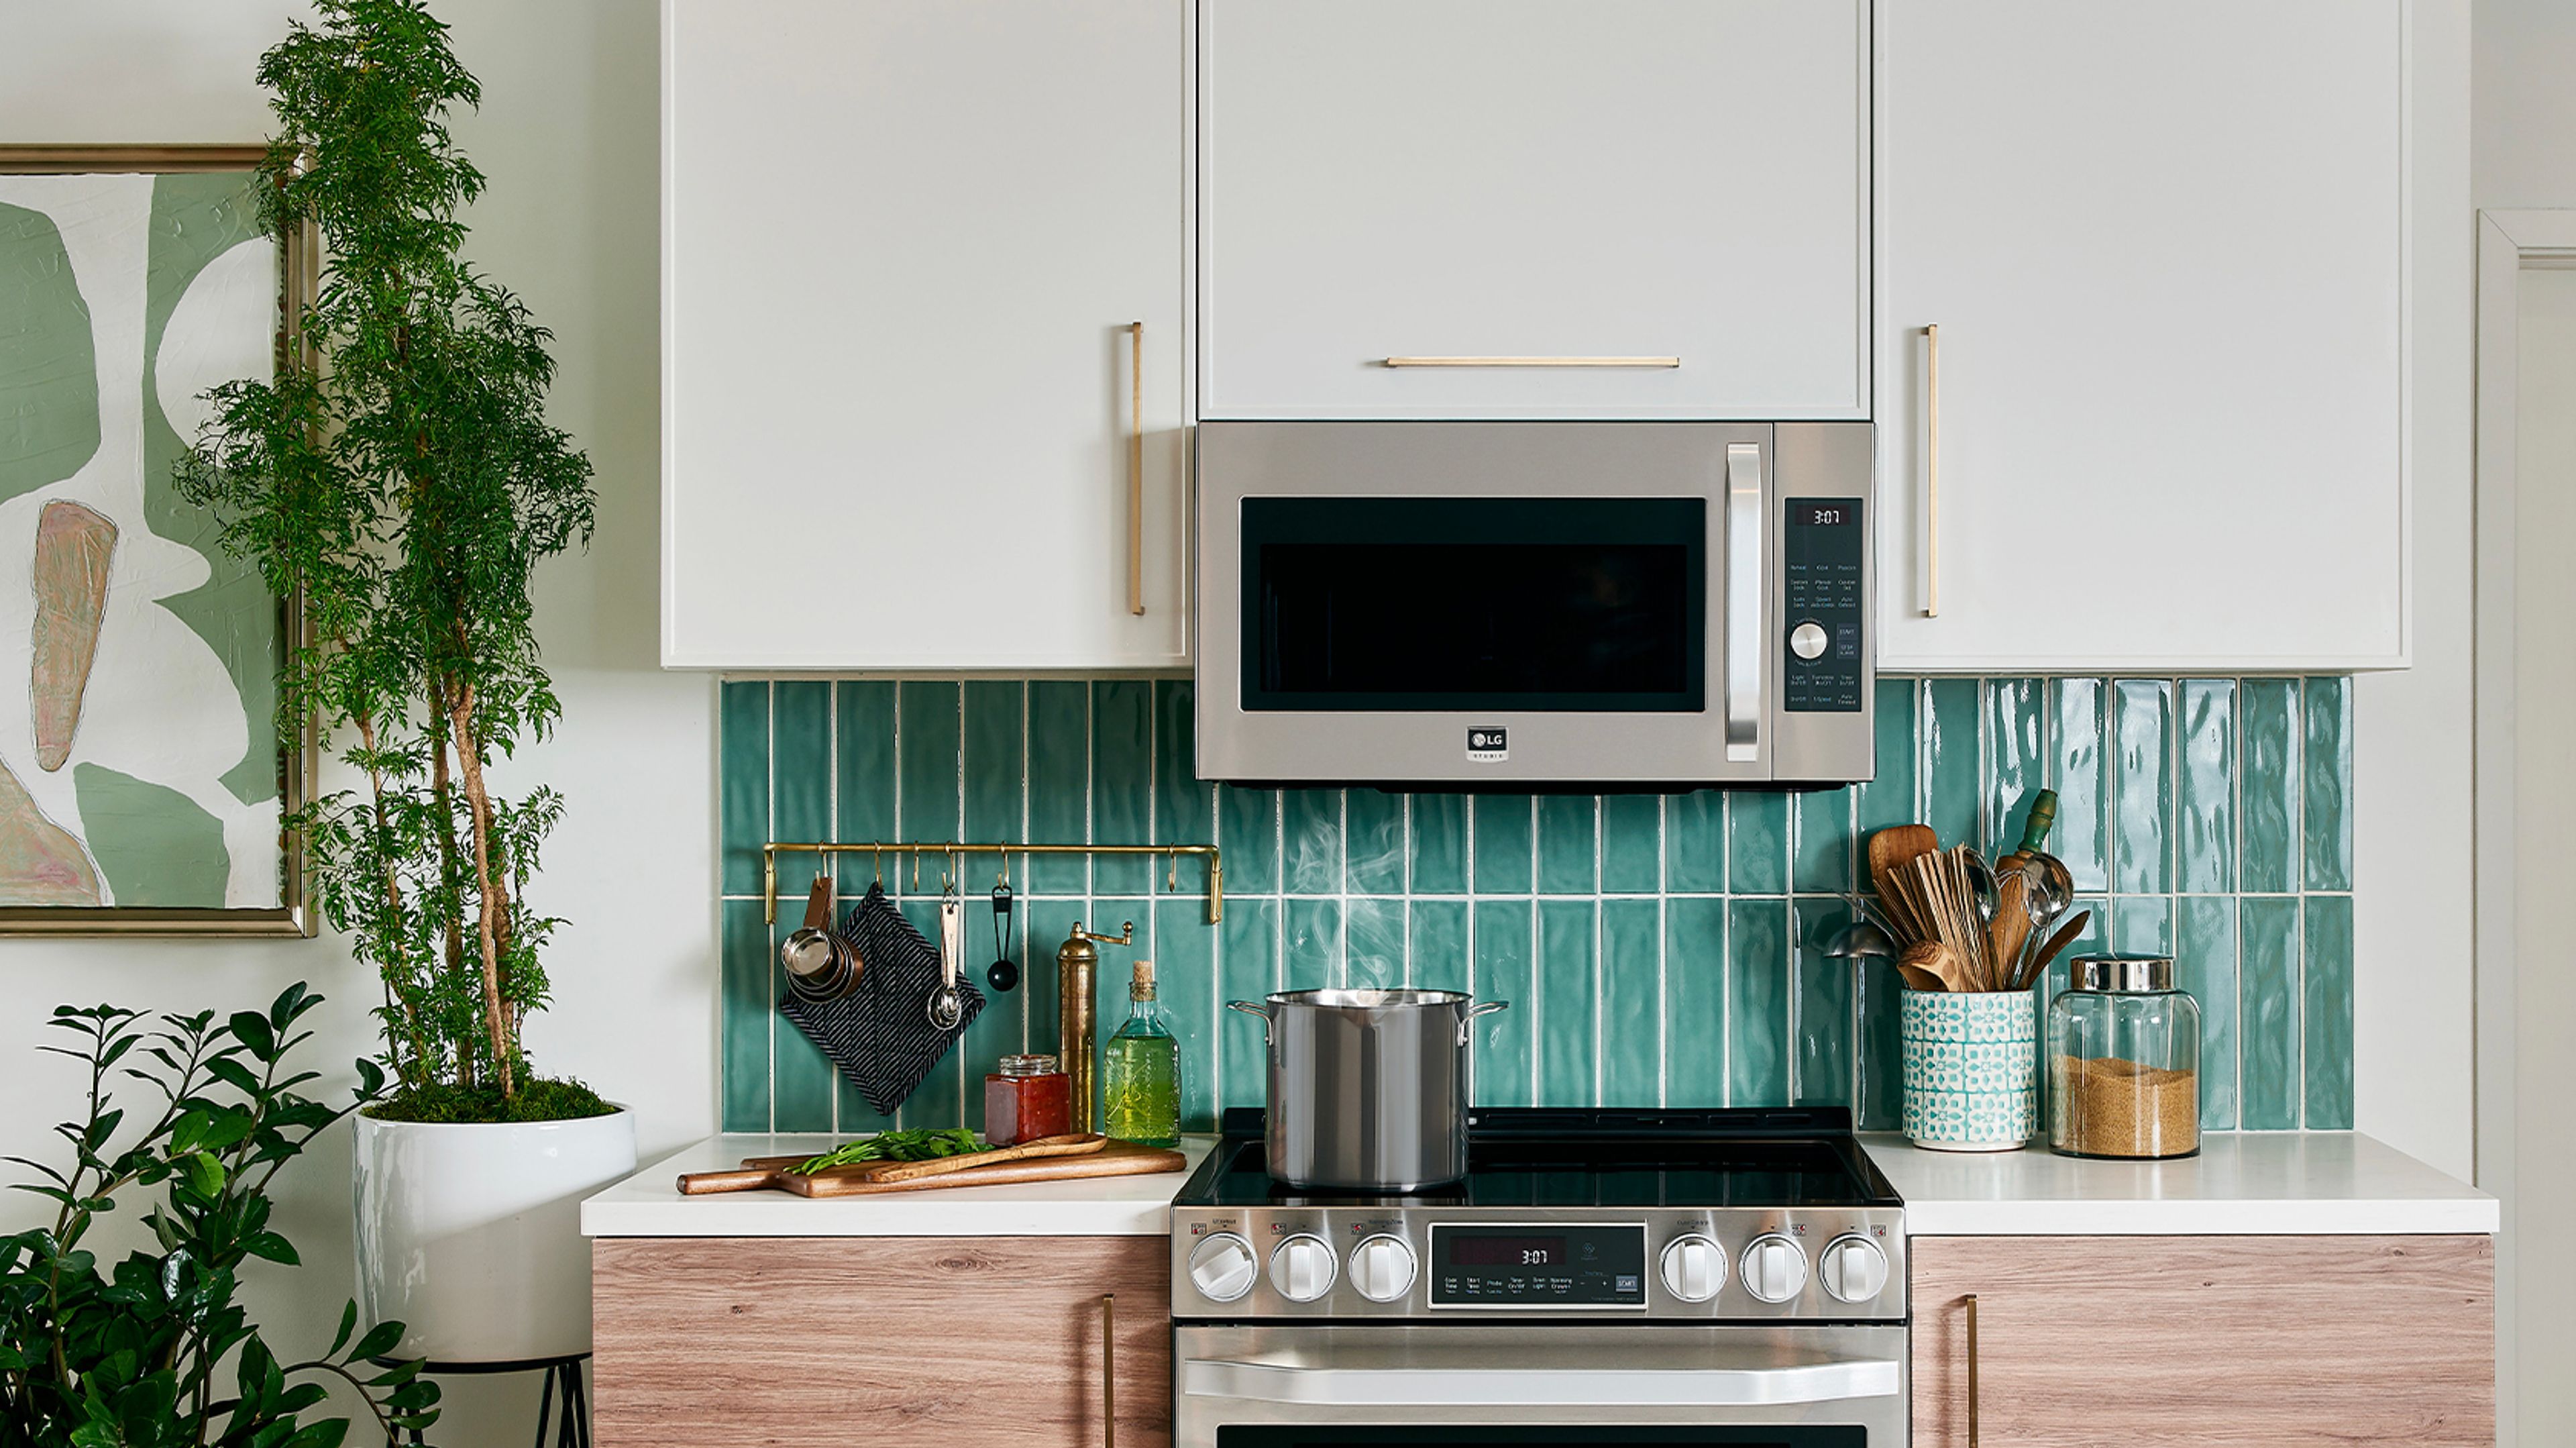
This sophisticated household appliance comes into frequent daily contact with food. Crumbs, stains, greasy deposits, and spills accumulate rapidly in microwave interiors!
Follow some simple guidelines to enjoy a fresh, clean microwave. With care, you can optimize this product's lifespan with regular cleaning.
Follow Manufacturing Guidelines
Manufacturers have developed several different brands of microwaves. Some units possess unique individual features. For example, certain models provide a removable rotating circular food display tray in the interior.
Before cleaning your microwave for the first time, always read the manufacturer's instructions carefully. Follow any specific cleaning directions provided for your make and model! Always prioritize these guidelines above any other general microwave cleaning tips.
As a "rule of thumb", it remains a good idea to unplug the microwave prior to every cleaning session. Taking this step will give you an opportunity to inspect the plug and cord and make certain they appear in good working order.
Cleaning the Interior
Follow these simple steps to obtain a bright, clean microwave interior. You won't need to spend much time on this task!
Step One: Preliminary Crumb Removal
As your first step in sanitizing the interior, take a clean cloth or disposable paper towel and collect any visible crumbs and loose spilled food items. (Performing this task after every use helps reduce cleaning times.)
Step Two: Cleaning Detachable Components
Next, if your model of microwave provides a removable rotational tray, detach it from the appliance per manufacturer instructions. Wash it gently by hand in a mixture of warm water and liquid dishwasher soap using a sponge or dishrag.
If greasy food deposits cling to the surface, let this item soak in the dishwater for several minutes before scrubbing with the dishrag. You'll want to exercise care to avoid scratching or scraping the surface by scrubbing too vigorously.
Next, rinse the rotational tray in clean water before drying it gently with a clean kitchen towel or microfiber cloth. You can return it to the microwave after cleaning the rest of the interior.
Step Three: Scrub Away Clinging Food Deposits
Now you're ready to tackle the most difficult part of this assignment! Using a damp, clean cloth or microfiber towel and a mixture of mild dishwashing detergent and water, scrub the interior of the microwave. If you clean on a frequent basis, this task should not prove difficult. Cover every section in the unit's interior, including the ceiling. Onc word of caution: do not attempt to scrub deep inside the microwave vents. Limit cleaning activities to readily accessible surface areas to prevent damaging sensitive internal circuitry.
As you scrub, you'll want to clean carefully to avoid scraping or damaging the interior surface. Never use a sharp implement to pry off clinging food, since this could leave permanent marks. If you encounter a resistant burned deposit, you may want to take a spray bottle filled with white vinegar and spray several squirts of vinegar over the problem area. Let it sit for one-to-two minutes before scrubbing vigorously with a soft sponge. (Don't use a wire mesh pad!) Finally, rinse the interior thoroughly with a damp cleaning cloth and dry with a towel.
Step Four (Periodically): Use a Commercial Microwave Cleaner
Periodically, you'll want to rely upon a commercially available cleaning and sanitizing preparation formulated for microwaves (not for ovens). Many grocery stores and home appliance store outlets carry these products. They prevent the buildup of greasy deposits. Always make sure you use a formulation specifically designed for microwaves used for food consumption purposes. Follow the directions on the label and rinse the microwave interior afterward thoroughly to remove any chemical residues. Most restaurants utilize commercial cleaning preparations periodically to clean their microwave equipment.
Step Five (Infrequently): Deodorizing The Interior
Unless manufacturer instructions direct to the contrary, scrub the interior with a mixture of baking soda and water every few months to prevent lingering microwave odors. Rinse thoroughly with a damp cloth and dry with a towel afterward. Baking soda counteracts many odors.
Cleaning the Exterior of the Microwave
The exterior of the microwave also requires periodic cleaning. You can use essentially the same cleaning formulations you employ on the exterior surfaces of other kitchen appliances to sanitize most parts of your microwave's exterior. However, certain areas will require delicate cleaning to avoid damaging computerized control mechanisms.
Step One: Dusting
On a frequent basis, remove dust from the exterior using a damp cleaning rag or microfiber cloth. Dry the exterior immediately after with a clean kitchen towel.
You can clean the microwave cord very effectively using a damp towel. Always make sure you have unplugged the appliance beforehand! The cord will probably require less frequent cleaning attention than other parts of the microwave.
Step Two: Cleaning
Following manufacturer, directions prove essential during the cleaning of the microwave's exterior. Since some makes and models include sophisticated digital displays, you'll want to exercise special care cleaning around these areas.
For instance, while you should apply antibacterial cleaning agents to the door handle, use these products with caution near the appliance control panel. You need to clean that section of the microwave delicately, the same way you clean and sanitize your computer and your mobile devices. Harsh liquids can damage some computerized control mechanisms and LED screens. To preserve the lifespan of your microwave, always adhere to the manufacturer's guidelines!
Today, many retailers sell specialized cleaning agents designed specifically for computer screens and keyboards. In some cases, these products will clean the delicate control sections, but do not spray them directly onto the controls.
Kitchen Cleaning Formulations
Personal preferences for cleaning compounds vary widely. Today, many excellent "green" cleaning preparations exist which do not leave harsh chemical residues. Manufacturers typically recommend the use of non-abrasive, extremely mild soaps for cleaning appliance exteriors to avoid damaging product finishes.
Some people prefer using homemade cleaning agents to remove clinging food deposits. Avoid using ammonia or bleach. Applying a few drops of white vinegar and rinsing with water one-to-three minutes afterward works effectively against many hardened food deposits. Check individual manufacturer guidelines first to prevent damaging exterior finishes utilizing cleaning products.
Successful Cleaning
Many people enjoy using quick cleanup tips. Unfortunately, a shortcut that works well for one type of appliance sometimes proves catastrophic in another. A microwave performs a specialized cooking role. Very gentle handling helps preserve its useful lifespan. As you clean a microwave, remember a few basic guidelines:
1. To avoid electrical shocks, always unplug a microwave before initiating cleaning.
2. To prevent damaging your microwave, refrain from cleaning deeply inside internal vents and never use unapproved cleaning products around the sensitive control panel and LED display screen.
3. To avoid damaging interior surfaces, never clean microwaves with objects such as aluminum foil, knives, scrapers, etc.… Foil works well for cleaning low-tech outdoor barbecue grills, but it can ruin your microwave.
4. For safety reasons, only employ chemicals inside a microwave interior intended for use thereby product manufacturers (e.g. avoid deodorizing microwave interiors with commercial air fresheners).
Clean microwaves contribute to attractive, functional kitchens. Careful cleaning techniques help optimize the lifespan of these appliances!